Dodge or Die Best Tools to Prioritize
Spend Cash and crate pulls on tools that keep you alive in one-hit arenas.
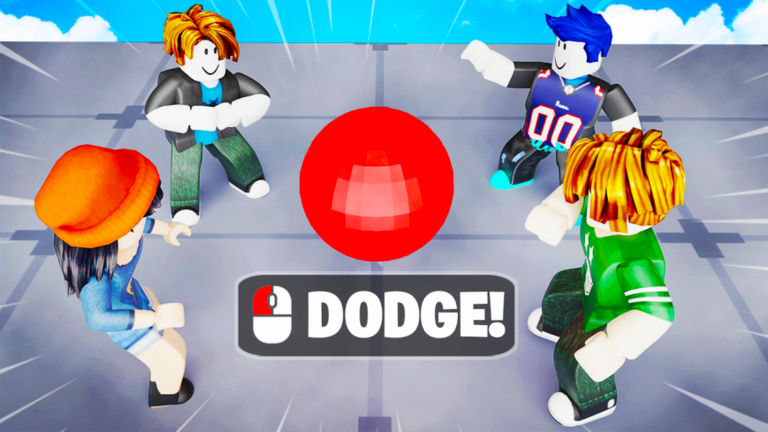
Asking for the best tools in Dodge or Die is really asking “What keeps me alive when one ball ends my run?” AllOut Games rotates exact item names and stats through crate pools and balance patches, so any wiki that lists hard-coded “S-tier” weapon names goes stale overnight. This guide stays honest: we rank categories and behaviors you should prioritize, explain why duplicate upgrades matter, and point to the tier list when you want community-specific rankings after unlocks.
Use this page after you understand Cash flow from codes and the Tools Hub. Pair it with movement upgrades — tools win impossible angles; movement wins everything else.
Evaluation criteria for “best”
Judge tools by arena outcomes, not hype:
- Time bought — seconds survived after activation when balls would otherwise hit you.
- Coverage — how many angles or lanes one use protects.
- Cooldown honesty — can you rely on it every dangerous wave?
- Skill floor — does it help beginners without perfect aim?
- Upgrade scaling — do duplicates via crate rerolls keep improving it?
Tools that require standing still to shine often underperform in Dodge or Die’s chaotic lobbies. Passive or quick-trigger options that create space tend to climb community tiers even if their raw damage looks boring on paper.
Priority categories (not fixed item names)
Defensive and survival tools
These are usually your first investments after opening crates:
- Shields or brief invulnerability — forgive one mistake while you reposition.
- Knockback or push effects — redirect balls or players out of your lane.
- Personal escape tools — blink-style repositioning when lanes collapse.
Survival tools align with the game’s core rule: one hit eliminates you. Anything that prevents that hit for a few seconds is premium.
Area control tools
Mid-priority but powerful when lobbies crowd:
- Zone slowdown or denial — reduce ball speed in a lane you must cross.
- Temporary safe bubbles — small zones where you plan next movement.
Area tools shine in late-round density when ten balls cross one choke. Early rounds reward movement more than zoning.
Offensive or disruption tools
Higher skill floor but strong in coordinated groups:
- Ball deflection — send threats elsewhere instead of only dodging.
- Player-targeted disruption — risky ethically in casual play but part of arena chaos.
Prioritize offense after you own at least one reliable defensive tool. Dying with a flashy ability on cooldown teaches nothing.
Utility tools
Situational but underrated:
- Cooldown reduction or charge tools — extend uptime of your best survival option.
- Information or warning tools — extra telegraph time before ball waves spike.
Utility rarely tops immediate tier lists for beginners but becomes valuable when duplicates max your main tool.
Duplicate upgrades: hidden “best tool” path
The best tool you own tomorrow might be the same one you own today — upgraded. Crate duplicates level existing tools instead of wasting pulls. That means:
- Main-tool strategy — pick one defensive tool you actually equip every round and feed it duplicates.
- Flex-tool strategy — keep two upgraded options for different map layouts.
Chasing only “new” unlocks while ignoring duplicates spreads power too thin. Many veterans appear to run “meta” loadouts because they upgraded consistently, not because they lucked into rare drops once.
Read the crates guide for opening rhythms that feed duplicates without bankrupting Cash for movement.
Spending order for new players
- Redeem 650 Cash from active codes on the Codes Hub — 1KCCU, 250K, DODGE.
- Open crates until you own two tools in different categories (e.g., one defensive, one area or utility).
- Upgrade whichever tool you actually used last session via further crate pulls.
- Buy one movement upgrade if near-miss deaths outnumber ability mistakes.
- Consult the tier list once you unlock enough options to compare community ranks.
Skip buying random shop offers until you know your death patterns from getting started fundamentals.
Loadout habits that beat raw tier chasing
Rotate tools between rounds when ball patterns change — tunnel vision on one favorite gets punished when updates shift physics.
Track cooldowns verbally — say “shield down” out loud until it becomes instinct.
Pair tools with movement — high speed without a panic button dies in open center; shields without speed die when balls follow corners.
Re-test after patches — balance notes can nerf yesterday’s best category overnight.
When the tier list disagrees with this guide
Community tier lists reflect aggregated experience — valuable but lagging behind patches. Use them when:
- You own five or more tools and need tie-breakers.
- You play regularly and want meta snapshots.
Ignore them when:
- You are day one and need any defensive tool more than rank letters.
- Patch dropped within 48 hours — rankings need recalibration.
This guide teaches thinking; tier lists teach snapshots.
Cash efficiency for tool progression
Free codes are finite; arena Cash is repeatable. After codes run dry:
- Grind short sessions focused on survival time, not eliminations — see how to get Cash.
- Open crates in batches of three to five so duplicate upgrades statistically progress something.
- Avoid zero-Cash re-entry where you cannot afford a single opening after bad luck.
If redemption fails, fix economy issues via code troubleshooting before blaming loot RNG.
Tools to deprioritize early (behavioral, not names)
Deprioritize tools that:
- Require standing still longer than a ball travel time.
- Only help after you are already eliminated (post-death effects).
- Have long cooldowns without passive value between uses.
- Duplicate a role you already upgraded heavily — variety beats third copy of the same niche.
You can revisit deprioritized categories later when duplicates max primary tools.
Putting it together
The best tools in Dodge or Die are the ones upgraded, equipped, and timed correctly — not necessarily the flashiest crate reveal animation. Start defensive, invest duplicates, add movement when dodging fails, and use community tier lists as secondary confirmation.
Return to the Tools Hub whenever AllOut Games adds crate pool changes or new ability classes. Re-run your personal priorities after each update instead of copying month-old rankings from social posts.
Frequently Asked Questions
Quick answers to the most common questions.
What is the best tool in Dodge or Die?
There is no permanent single best tool—patches change balance. Prioritize defensive tools that buy survival time, then upgrade duplicates via crates.
Should I upgrade one tool or collect many?
Unlock at least two tools for flexibility, then feed duplicates into the one you equip most often. Spreading upgrades too thin hurts mid-game survival.
Are offensive tools bad for beginners?
Not bad, but secondary. Learn one reliable defensive or escape tool first because one ball still eliminates you if offense is on cooldown.
How do promo codes help me get better tools?
Codes grant Cash for crate openings. Redeem 1KCCU, 250K, and DODGE for 650 Cash to accelerate early unlocks and duplicate upgrades.
Where can I see a ranked tier list of tools?
Visit the tier list hub on this wiki for community rankings. Use it after you unlock several tools, not as a day-one shopping list.
Do movement upgrades replace good tools?
No. Movement helps dodging; tools handle situations movement cannot. Invest in both over time using Cash from arenas and codes.